API Management
Now that we have the full funcionality working in the Logic App flow, let’s control better the URL’s we are going to expose by using the API Management service provided on Azure.
This is the URL that we have from Logic Apps is: https://prod-06.eastus.logic.azure.com/workflows/[WorkflowId]/triggers/manual/paths/invoke/{resource}/?api-version=2016-10-01&sp=%2Ftriggers%2Fmanual%2Frun&sv=1.0&sig=[SASKey].
As you can see the URL has several properties that needs to be specified and it exposes our logic with private information like the workflow id and the sas key, that should not be exposed.
So the things I want to accomplish by using the API Management is:
- Control the URL to be exposed;
- Control the access on the service;
- Limit the number of calls that each consumer can make based on the contract established
Create and configure the API Management service
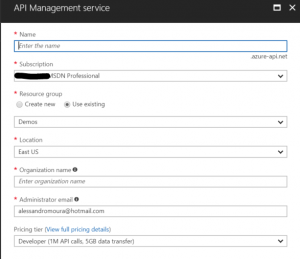
The first thing we need to do is to create the API Management service in Azure. To do so, search for API management in the add new resource in the Azure portal. Fill the fields according to your needs.
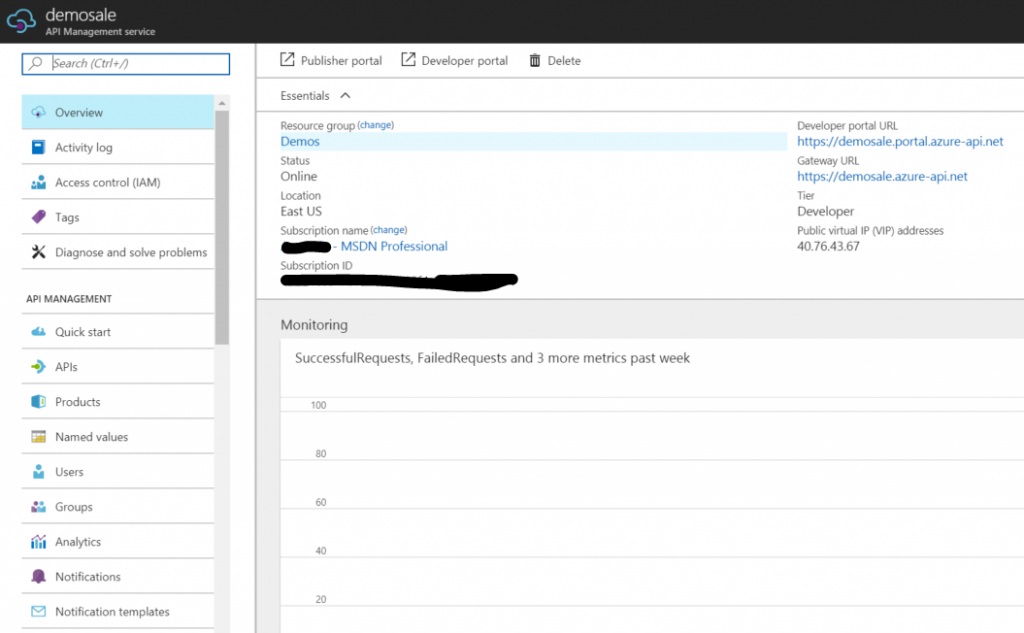
Once the API Management service is created you can start configuring the API’s you are going to expose through it.
You have two options here: Publisher portal and APIs. The Publisher portal is the old way of doint it and the APIs is the new one. I will choose the APIs option, since it will make my life easier on some configurations I want to apply.
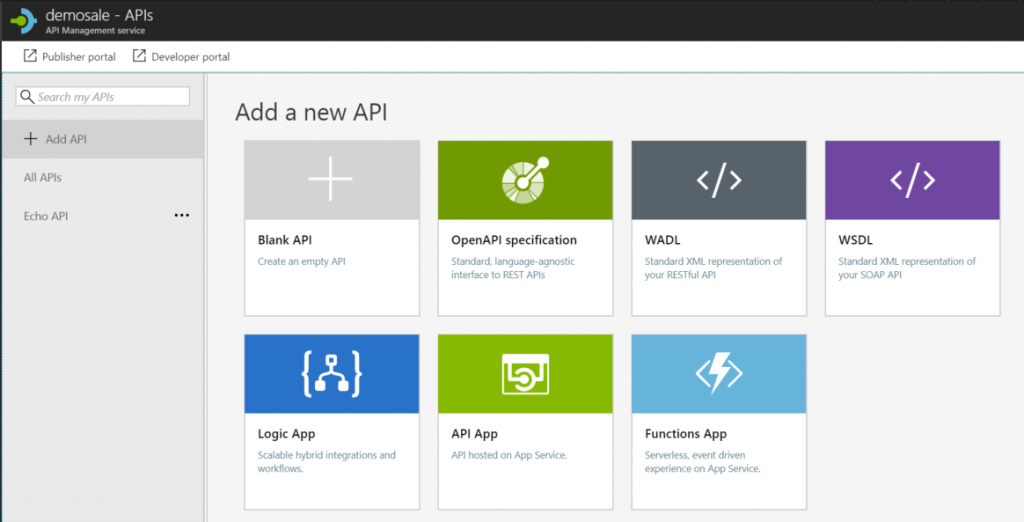
Since our service was defined with Logic App, let’s choose this option and configure the next screen to show the API as we want.
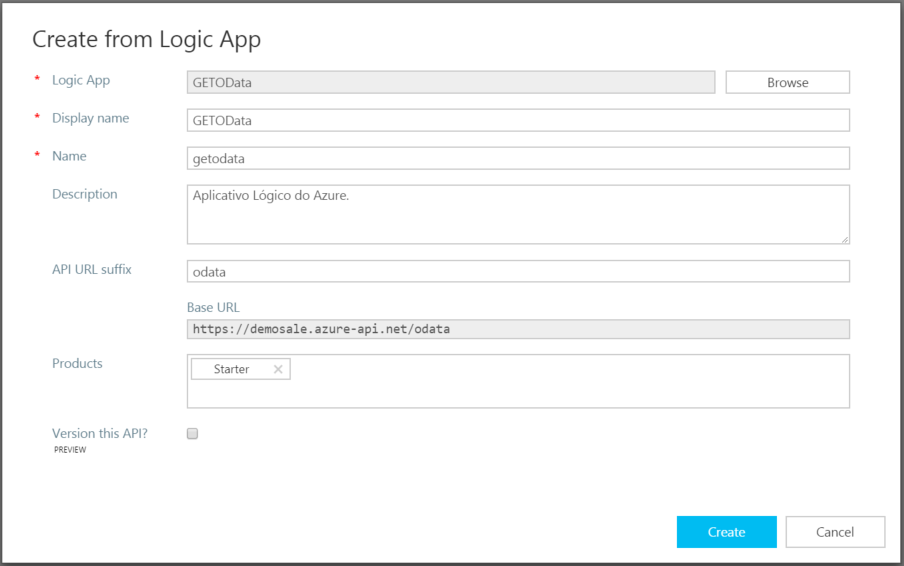
You can see above I selected my Logic App, and in API URL suffix I defined “odata”, to let our consumers know this API is behaving as an OData API.
After the service is created, navigate in the configurations to understand about the mapping between the API Management configuration and the Logic Apps.
For now, let’s make a quick test, and to do so, we need to find what is the new URL that was configured to work as a proxy for our Logic App service.
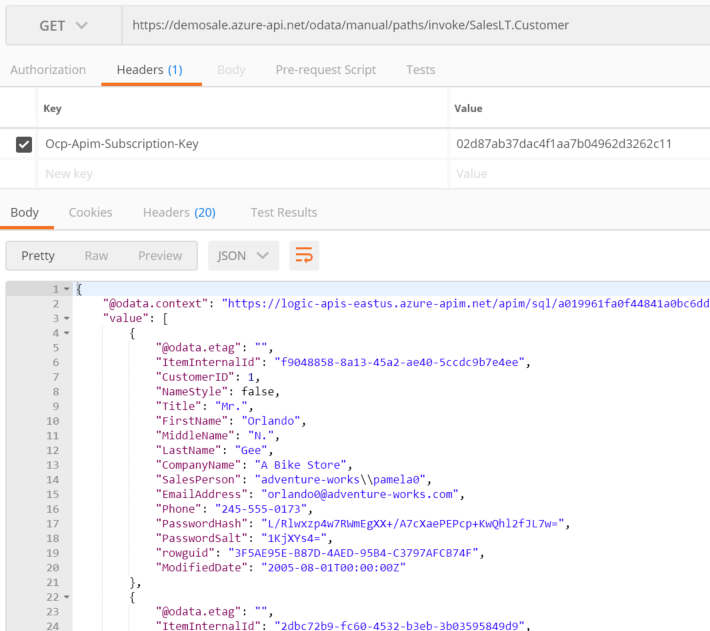
A couple things to note here. First, we need to specify the ID of the product we are going to use. The product is a subscription that our consumers will do on our service, and when they are authorized, they will receive this information. Second, the URL got close to what I want bu I still need to make some adjusments. So I’ll go back to the API Management to make these changes.
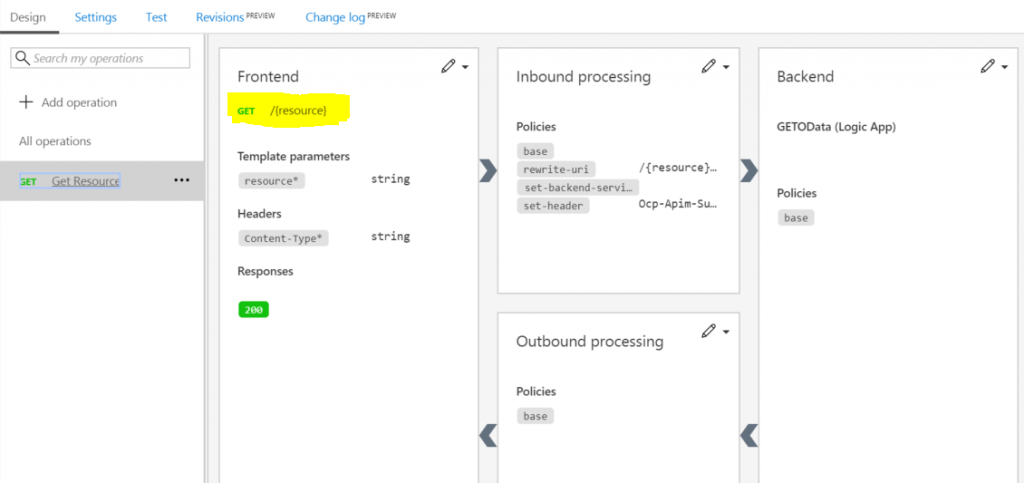
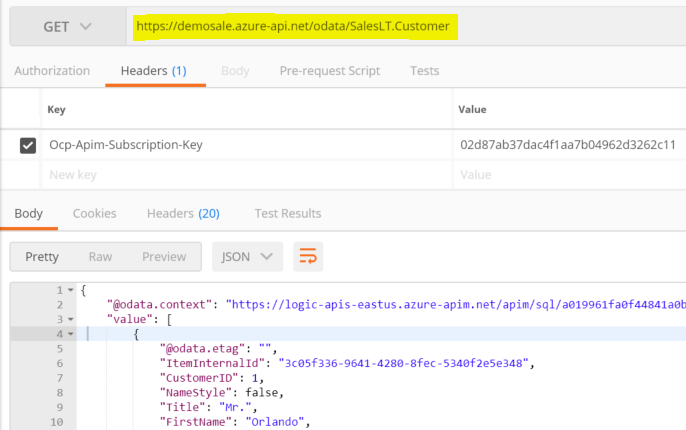
Here’s the screen that shows all the configuration we can change on this proxy service. I changed only the Frontend, where I changed the URL from “manual/paths/invoke/{resource}” to “{resource}”. This way I can have the final URL as the image below:
Limit access on the Logic App service
Last but not least, since my Logic App service is now exposed through API Management, I will limit the access on it, so even if someone finds about the SAS key, they are not going to be able to call it.

So now if you try to consume the Logic App from any IP address that is not the API address of the API Management service, it will return an error message saying it is not authorized.
So now we have complete from all the configuration in Logic App to the API Management for the GET operation.
For the next operations I will do a video from beggining to end of the whole solution.
I hope you guys enjoyed so far.
See you!!!
Check it out the other posts of this series:

Good work Alessandro!
Thanks Michel. Follow the blog. I’ll be posting about new stuff every week.
If some one desires expert view concerning running a blog then i suggest him/her to pay a quick visit this website, Keep up the pleasant job.
cfj
Thanks Sekrunny.