Scenario
Among the things that I do on may day work with BizTalk, it’s evaluating how Logic Apps can help us to achieve better integrations.
One of the requests I received was to expose the tables of a database as an OData service using Logic Apps.
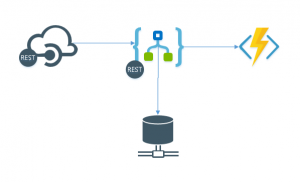
As you can see by the picture above the idea is simple: I will expose a Logic App that will be using the SQL Connector to communicate with the database and using Azure functions to validate the JSON request received.
To better control the URI being exposed, I will use the API Management that Microsoft provides and we will have cleaner URL’s for our clients to consume.
Now that we have the scenario, let’s build it.
Building the Solution
Since this is my first post, I’ll show you all the steps for the whole solution using the Azure portal.
Building the SQL Database
I’m going to use the SQL Azure database to store our data in this solution, so the first thing we need to do is to build it.
To do so, let’s go the Azure portal and in search box, type SQL Database. You should have a screen like the one below:
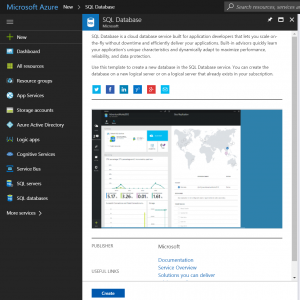
Click Create and you will go to the next blade where you can configure the details of both the database server and the database you are about to create.
Some things to note here is that I’m using a Resource Group named Demos that I’ll be using throughtout this scenario. It will make easier to locate things related to this development later. Also, in the pricing options, remember to choose one that is going to siut your needs and not hurt you when the bill comes.
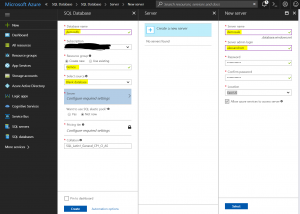
Besides what the picture says I choose the Adventure Works database for my example.
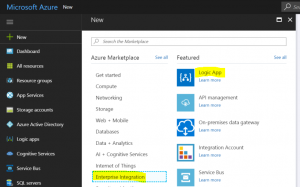
Building the Logic Apps flows
For the Logic Apps, we are going to create 4 flows.One for each HTTP operation we want to cover, GET, POST, PUT and DELETE. This way we will cover the 4 CRUD operations on the database. Also this way we follow the REST guidelines for manipulating data.
Let’s start with the GET flow that will query the data in the database.
First thing we need to do is to create a blank Logic App flow as the image below:
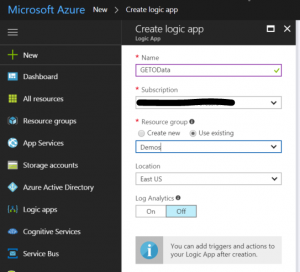
I named the Logic App as GETOData and selected a subscription and resource group of my preference.
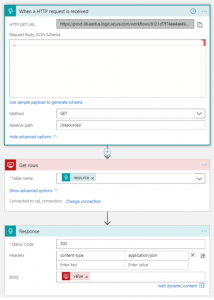
Once the Logic App has been created you can go and add the following items:
- HTTP Request
- Method: GET
- Relative Path: /{resource}/
- No JSON body, since we will be only querying data with parameters filled in the URL
- SQL Server: Get Rows
- Table name: the resource property defined in the relative path
- HTTP Response
- Status code: 200
- Headers: content-type | application/json
- Body: the result of the SQL connector
As the picture below:
Now it’s time to test the flow and I’m going to use Postman to do that.
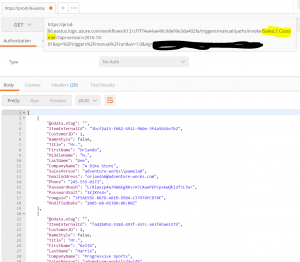
As you can see highligthed in the URL, is the name of the table we want to consume from the database.
The next post I’m going to show you how to pass parameters to make filter, column selections and some other properties this adapter provides to us.
See you!!!
Check it out the other parts of this series:

Nice post !
Thanks Francisco.
Nice article. I was looking for something to start using Logic Apps. Now I have to create a POC to convince my team.
Thanks
Thanks Guilherme, I’ll be keeping posting posts about the discoveries I do on Logic Apps, so keep following this blog. Also, if your company needs any assistance in implementing a cloud integration platform or you have any training needs, just let me know.